
Nickel-Cadmium (NiCd) batteries are widely used in various industrial and commercial applications due to their durability, long cycle life, and ability to operate under extreme temperatures. Proper installation is critical to ensure safety and optimal performance. This article will walk you through the basics of installing NiCd batteries in a professional setting.
1. Pre-Installation Preparations
Before installing NiCd batteries, you need to ensure that the installation area is suitable:
- Ventilation: Ensure the battery room is well-ventilated to prevent heat build-up, especially during charging.
- Temperature control: The operating temperature should ideally be between 15°C to 25°C for optimal performance.
- Safety equipment: Equip the installation area with safety gear such as gloves, goggles, and fire suppression systems.
- Battery rack: Ensure that you have a stable and non-conductive battery rack to support the battery cells.
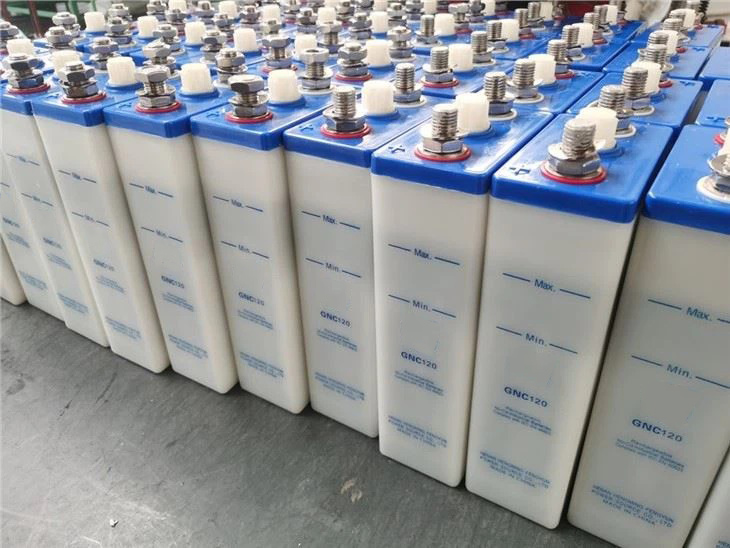
2. Inspect the Battery
Upon receiving the NiCd batteries:
- Check for damage: Inspect the battery cells for visible signs of damage like leaks or cracks.
- Voltage check: Use a multimeter to measure the open circuit voltage of each cell to ensure they are within the manufacturer’s specifications.
- Electrolyte level: Confirm the electrolyte level in each battery cell is adequate.
3. Installing the Batteries
- Orientation: Place the batteries on the rack in the correct orientation. The positive and negative terminals should align with the electrical system’s requirements.
- Series or parallel connection: Depending on the system voltage and capacity needs, connect the batteries in series (to increase voltage) or in parallel (to increase capacity).
- Tighten connections: Use proper torque settings as recommended by the manufacturer to tighten connections between battery terminals to avoid poor conductivity.
4. Post-Installation Testing
- Initial charging: After installation, perform an initial charge according to the manufacturer’s recommendations to bring the batteries to full charge.
- Check voltage and electrolyte: After charging, check the voltage and electrolyte levels once again. Adjust the electrolyte level if needed.
- Insulation testing: Verify the insulation resistance of the installation to avoid any potential short circuits.
