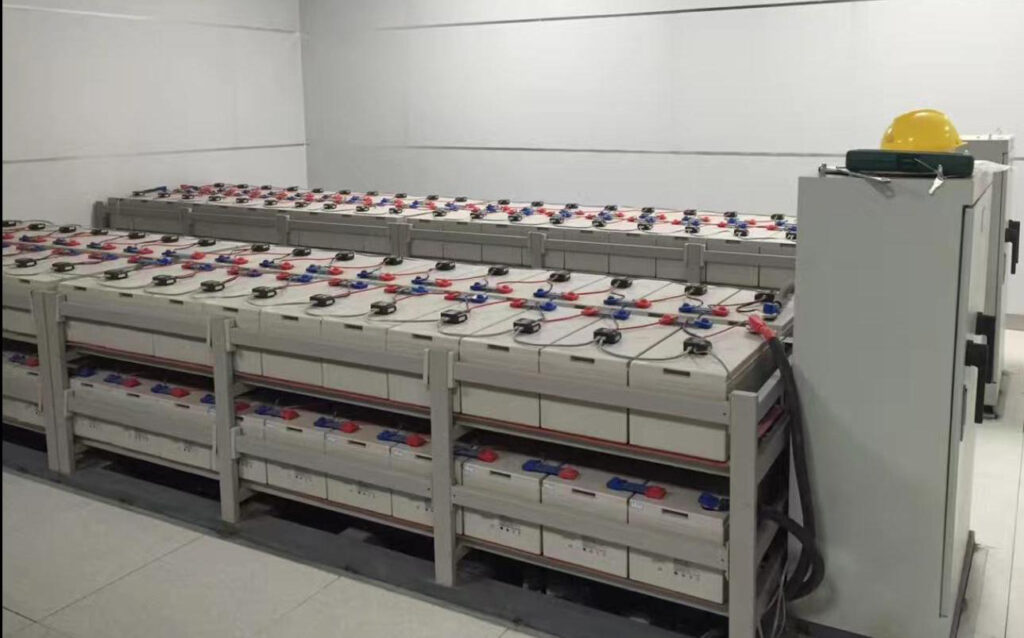
Uninterruptible Power Supply (UPS) systems rely on batteries to provide backup power during outages or fluctuations. Installing these batteries correctly is crucial for system reliability. Follow these steps to ensure a safe and efficient installation.
1. Choose the Right Battery
- Battery Compatibility: Ensure that the battery type is compatible with your UPS model. Common battery types include lead-acid and lithium-ion.
- Capacity & Voltage: Select a battery with the appropriate voltage and capacity. The UPS manual typically specifies these requirements.
2. Prepare the Installation Area
- Ventilation: Ensure the area has proper ventilation to avoid overheating.
- Temperature Control: Maintain an optimal operating temperature, typically between 20-25°C (68-77°F).
- Safety Gear: Wear gloves and safety goggles to protect yourself during installation.
3. Power Down the UPS
- Turn off the UPS and disconnect it from the main power source. This will ensure no live electrical connections are present during the installation.
4. Install the Batteries
- Open the Battery Compartment: Use a screwdriver to remove the compartment cover, depending on the model.
- Connect the Batteries: Ensure the positive and negative terminals are connected correctly. Use the provided connectors and tighten them firmly, but avoid overtightening.
- Secure the Batteries: Make sure the batteries are securely fastened to avoid movement, especially in case of vibration or external disturbances.
5. Close and Power Up the UPS
- Close the battery compartment and secure the cover.
- Reconnect the UPS to the main power supply and power it on. Check for any warning indicators on the display.
6. Run Initial Tests
- Perform a self-test on the UPS to ensure the new batteries are working correctly. Monitor the voltage and backup time for any irregularities.
7. Dispose of Old Batteries Properly
- Follow local regulations for disposing of old batteries. Lead-acid batteries, in particular, must be handled by certified recycling facilities.


