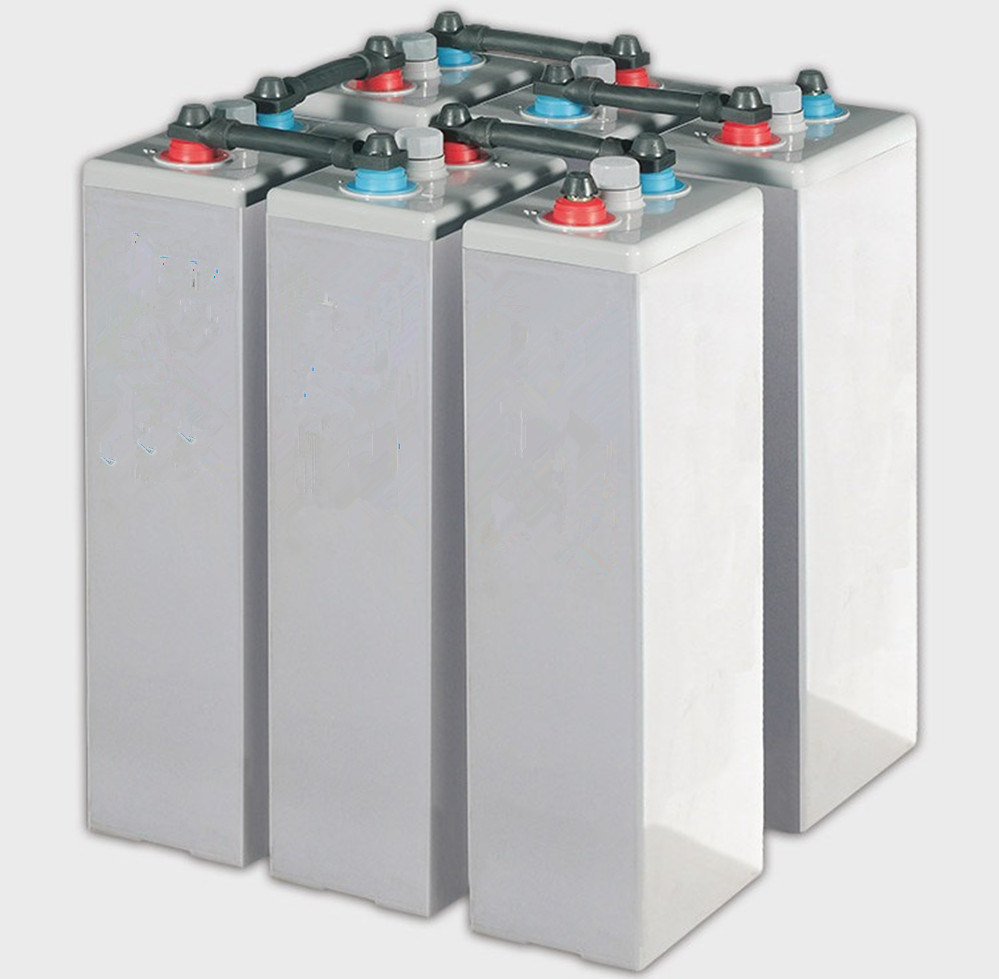
Setting up a lead-acid battery system requires careful planning and execution. Here’s a step-by-step guide to ensure your battery bank is connected correctly and safely.
1. Planning Your Setup
- Determine Your Needs: Calculate the required voltage and capacity based on your energy needs. This will help you decide how many batteries you need and whether to connect them in series, parallel, or a combination of both.
- Select Batteries: Choose batteries of the same type, capacity, and age to ensure uniform performance and avoid issues.
2. Wiring the Batteries
- Turn Off Power: Before starting, make sure all power sources are disconnected to avoid electric shock or short circuits.
- Connect in Series:
- Connect the positive terminal of the first battery to the negative terminal of the second battery.
- Continue this pattern for additional batteries.
- The remaining positive and negative terminals on the ends will be your output terminals.
- Connect in Parallel:
- Connect all positive terminals together.
- Connect all negative terminals together.
- Ensure the connections are secure and use appropriate connectors to handle the current.
3. Testing and Final Checks
- Check Connections: Ensure all connections are tight and secure. Loose connections can lead to overheating and reduced performance.
- Test the System: Once connected, test the system with a multimeter to ensure the correct voltage is being supplied. For a series setup, verify that the voltage adds up correctly. For a parallel setup, check that the voltage remains constant and the capacity is as expected.
- Monitor Performance: Regularly monitor the performance of the battery bank to detect any issues early and perform maintenance as needed.
Following these steps will help you create a safe and efficient energy storage system with lead-acid batteries.


