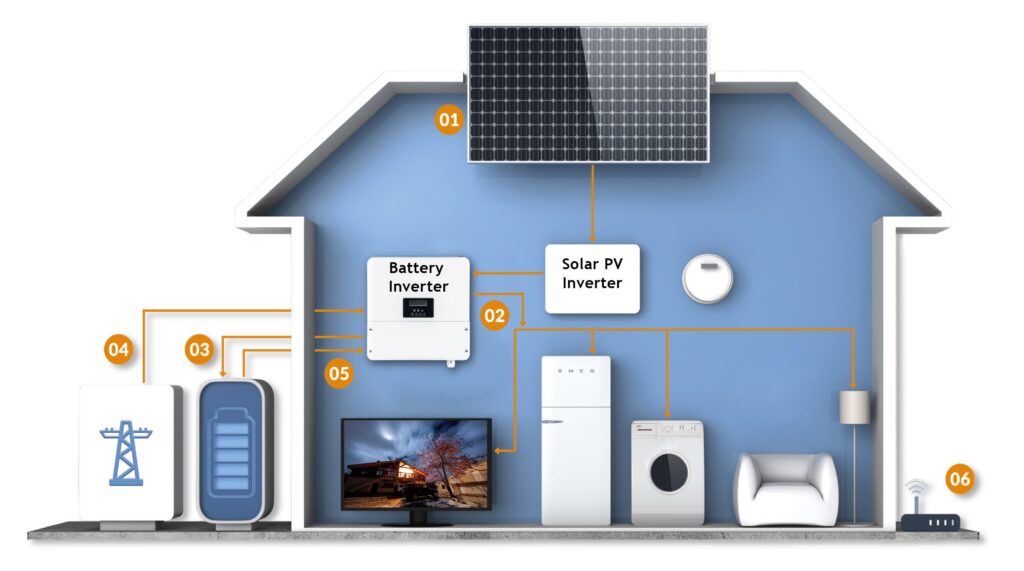
Controlling the charging of a battery using solar panels typically involves the use of a charge controller. Here’s how you can control the solar panel to charge the battery effectively.
- Selecting the Right Charge Controller: Choose a charge controller suitable for your system voltage (12V, 24V, etc.) and battery type (lead-acid, lithium-ion, etc.). Charge controllers come in various types, including PWM (Pulse Width Modulation) and MPPT (Maximum Power Point Tracking). MPPT controllers are more efficient and versatile but tend to be more expensive.
- Installation: Install the charge controller between the solar panels and the battery bank. Follow the manufacturer’s instructions for proper wiring and installation. Ensure the controller is mounted in a well-ventilated area and protected from moisture and excessive heat.
- Setting Charging Parameters: Configure the charge controller to match the specifications of your battery bank. This includes setting parameters such as charging voltage, charging current, and battery type (flooded, AGM, gel, etc.). Consult the battery manufacturer’s recommendations for the optimal charging parameters.
- Monitoring: Regularly monitor the charge controller’s status and performance. Most charge controllers have LED indicators or digital displays that provide information about charging status, battery voltage, and system faults. Monitoring allows you to detect any issues early and ensure the system is operating correctly.
- Overcharge Protection: Charge controllers are equipped with overcharge protection features to prevent the battery from being overcharged, which can reduce its lifespan. The controller regulates the charging current and voltage to maintain the battery within safe limits.
- Temperature Compensation: Some charge controllers offer temperature compensation functionality, adjusting the charging parameters based on the temperature to optimize charging efficiency and protect the battery from temperature-related damage.
- Load Control (Optional): Some charge controllers come with load control capabilities, allowing you to connect DC loads directly to the controller. Load control features enable you to automatically disconnect or reduce the load when the battery voltage drops below a certain threshold, preventing overdischarge.
- Programming and Remote Monitoring (Advanced): Advanced charge controllers may offer programmable settings and remote monitoring capabilities, allowing you to customize charging profiles, set timers, and monitor system performance remotely using a computer or mobile device.
- Maintenance: Regularly inspect and maintain the solar panels, wiring, and charge controller to ensure optimal performance. Clean the solar panels periodically to remove dirt, dust, and debris that can reduce efficiency. Check for loose connections and corrosion in the wiring and tighten or replace as needed.
By following these steps and using a reliable charge controller, you can effectively control the solar panel’s charging process to maximize the battery’s lifespan and ensure efficient energy storage in your solar power system.


