
Proper connection of OPzV batteries is crucial for system efficiency and safety.
1. Arrange the Batteries
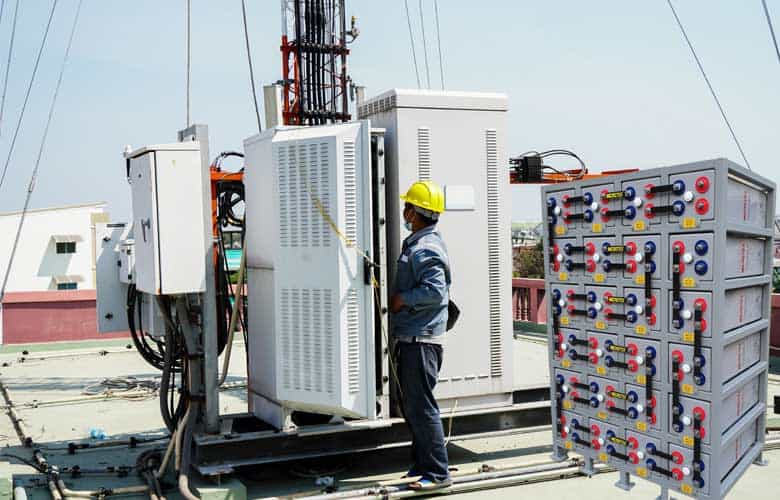
- Place the batteries in the planned layout, ensuring they are secure and level.
- Label each battery to match the system schematic for easy identification.
2. Connect the Batteries
- Begin by connecting the batteries in series or parallel, depending on the system requirements.
- Use the appropriate interconnecting cables and ensure they are tightly secured to the battery terminals.
- Apply an insulated wrench to avoid accidental short circuits.
3. Torque Settings
- Tighten the terminal bolts to the manufacturer-recommended torque setting.
- Over-tightening can damage the terminals, while under-tightening may result in poor connections.
4. Verify Polarity
- Double-check the polarity of each connection to prevent reverse polarity issues.
- Incorrect polarity can lead to severe damage to the batteries and the connected equipment.
5. Final Check
- Test the entire string using a multimeter to ensure proper voltage levels.
- Look for any loose connections and address them promptly.
By following these steps, you can ensure the safe and effective connection of OPzV batteries.
